


I have been thinking about upgrading my three-year-old MacBook Pro for a while now, it’s getting a bit tired. I had already upgraded the RAM to 8GB so the next thing to try is upgrading the hard drive.
The Plan
Rather than replace the current hard drive I’ll be swapping out the SuperDrive since I don’t use that anymore, that will give me a lot more storage space and make the migration easier.
The Gear

For the solid state drive I wanted roughly 250GB, room for my most common apps and files, plus a VMware Windows install. Any 2.5″ SSD SATA drive will do the trick, I was tossing up between these two:
- 256GB OCZ VERTEX 4 – $360
- 240GB Sandisk – $300
By the time you’re reading I’m sure the prices are a lot lower too. The Vertex definitely had better specs but probably not worth the extra 20%. However, since I’m doing this with the goal of getting the longest life possible from my MacBook, I went with the Vertex.
Setting Up the Drive
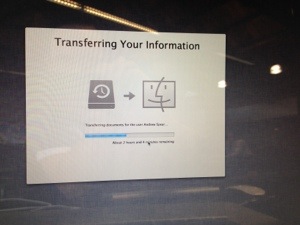
You can find good installation instructions at ifixit.com. After installing the physical drive, reboot and you’ll be greeted by this ominous message:
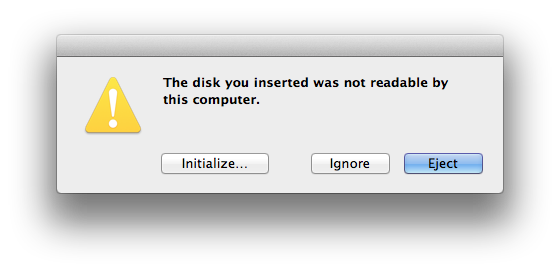

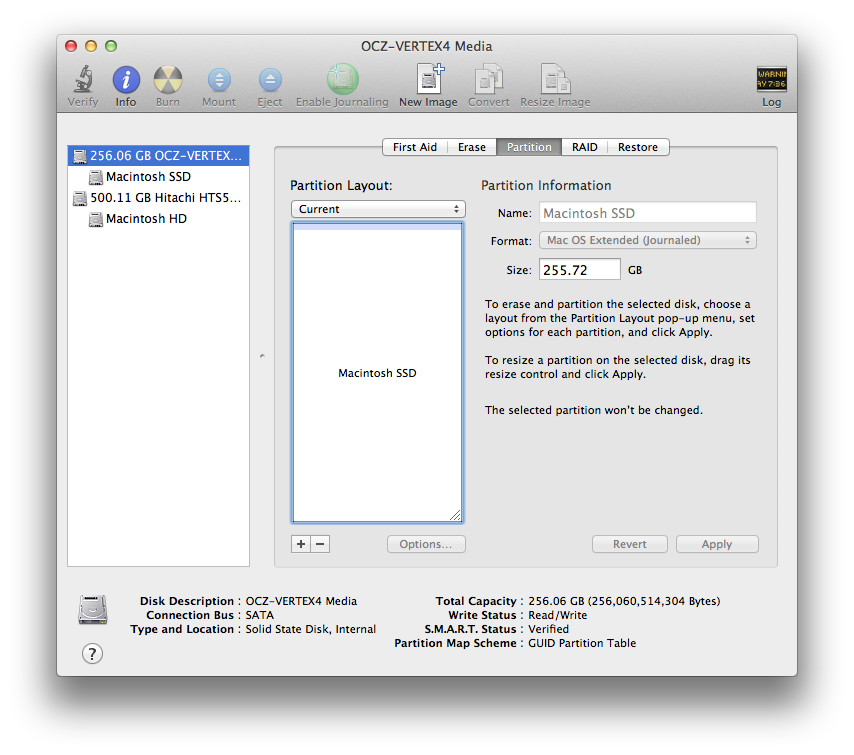
Don’t worry, the drive just needs to be formatted before it can be used. Open up Disk Utility and you’ll see the new drive on the left, then click the Partition tab and create a new partition. I gave mine the boring name of Macintosh SSD but please leave more creative suggestions in the comments :)

Now you’ll see a new drive alongside Macintosh HD in Finder and when installing apps, so let’s make use of it.
Migrating to the New Drive
I purchased OSX from the App Store so I don’t have a physical install disk, so I needed to use Apple’s Recovery Disk Assistant to create a new OSX install on the new SSD drive. If you do have an install disk, insert it, restart hold Option until you get the option to boot from the disk.
Just follow the steps to install a new copy of OSX on the SSD. Eventually you get an option to migrate from another drive, choose your old HDD, choose which files you what you want to bring over (users, desktops, music, apps, etc), and you’re done – brilliantly simple!

Because I left my Pictures, Videos and Music folders on the old drive, I had to create symbolic links to make the OS think they were actually in the default place. This article will take you through that process.
Wrapping Up
I chose to leave my music and photos libraries on the old hard drive because they are huge and rarely used. iTunes and iPhoto have preferences for setting the library location so that only took a minute to set up. Then I deleted the apps and user files which have now been moved to the SSD to free up stacks of long-term storage space on the old drive. Eventually I’d like to wipe the old drive completely for a fresh start, but for now I’m leaving the old OSX install on there, however I did get rid of the old 650MB recovery partition using these steps.
Setting Up Windows
Earlier I mentioned that I wanted to run Windows on my Mac, that’s because one of my clients requires a lot of .NET work which needs to be done with Visual Studio – a Windows only app. I do have a Windows computer but it’s old and slow, even if I got a new Windows laptop that still means two laptops to carry. So if I can get Windows running on the Mac faster than it runs on my old PC it’s a win-win, that was a big reason for this whole upgrade process.
I didn’t want the hassle of rebooting into Windows, I want it to run as a Mac app, so that means Boot Camp is out. VMware Fusion was recommended to me but it would not recognise any graphics card and limited the RAM I could allocate. Next I tried Parallels Desktop and it was better in every way: from the GUI to the speed, the way it puts apps in your dock like Mac icons, the way it mounts your Windows C drive in Finder, the ease of transferring from the old PC… this is a great app! I allocated half the RAM (4GB) and half the CPU cores (2) to the Windows drive and VisualStudio on the Mac now runs about four times faster than it runs on my PC!
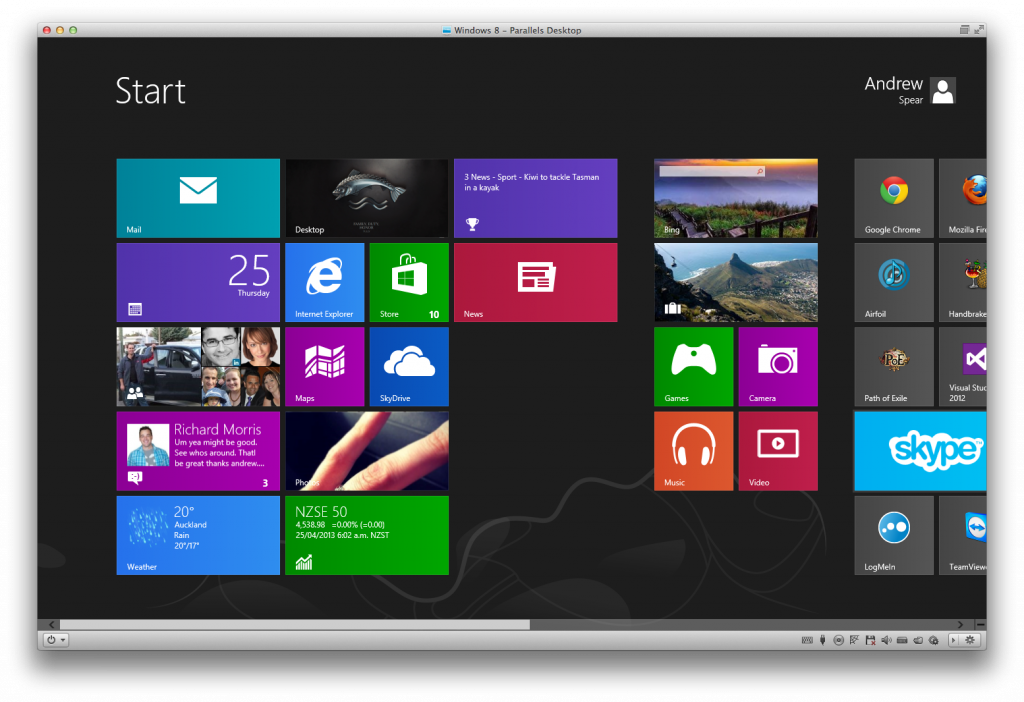

So if you want to defile your Mac by installing Windows on it, Parallels Desktop is the way to go!
Was It Worthwhile?
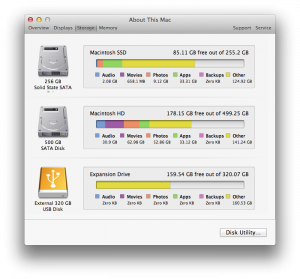
Boot time has certainly improved but the biggest difference I noticed was the Adobe apps – way faster! No side affects noticed so far, other than re-entering a few passwords. I used NovaBench to rank my machines before and after the upgrade. The hardware ranking went from an score of 13 to a score of 40, so three times better! Of course the hard drive is only a fraction of the overall score but the total score is also up by more than 15% as shown below.


The Windows performance on the Mac has also improved massively, much more than these numbers show.
If you’re considering upgrading your Mac, would definitely recommend you upgrade the RAM and SSD as I have, you’ll save thousands of dollars and get a few more years out of your machine. If you’ve given this a go yourself, have any performance recommendations of your own, or just want to ask me something – just leave a comment :)