


My wife watches more on-demand shows than broadcast tv but she has to watch it on her 13″ MacBook rather than the 30″ tv on the wall. Being the wonderful husband I am, I set about on a little geek DIY mission to get TVNZ and TV3 on demand playing through our Apple TV.
It was a lot harder than I thought and quite a few people asked how I pulled it off, so here’s the lowdown, if you give this a try yourself, please leave a comment about how you got on :)
What You’re Going to Need
- Apple TV 2 (black) – $170
- HDMI Cable – $15
- Micro-USB Cable (maybe) – $16
- aTV Flash – $20USD
Update your Apple TV
Update your Apple TV to the latest official version. In theory this means just using the built-in update feature on the Apple TV itself but if that doesn’t work (like it didn’t for me) then:
- Download the latest (in my case v4.2.2) firmware file to your computer.
- Connect your Apple TV to your computer via USB.
- Open iTunes, choose the Apple TV from the left menu.
- Option-click Restore to choose a custom restore file (the one you downloaded).
Jailbreak your Apple TV


Of course it wasn’t that easy in my case, it kept failing at the “Restoring in iTunes” step. Perhaps it’s because I had a beta version of iTunes, who knows. Before it stalled, the SeasOnPass installer did download an IPSW setup file, my solution was to find this file (just search for “.ipsw” to find yours) and then do the same workaround as above for updating via iTunes but choose this new IPSW file instead of the official v4.2.2 file.
Install aTV Flash
This was fairly painless (apart from the $20), just run the aTV Flash installer on your Mac and you are ready to fire up your Apple TV with some new menu options.
Enable XBMC
Again, this was fairly painless, just go to the new Maintenance menu > Manage Extras > XBMC. It’ll need to download and activate, after a restart you’ll see a new XBMC item in your menu. Unfortunately XBMC is a whole new operating system and the Apple TV will restart before and after you activate it, but it doesn’t take too long. XBMC isn’t as pretty or slick as the native Apple menus but it gives us an operating system that can handle NZ On Demand media.
Install the NZ OnDemand plugin
I’ve been told by others that with some versions of XBMC you can just find an “NZ OnDemand” add-on in the menus but I couldn’t find it. So here’s my workaround:
- Download the NZ OnDemand plugin manually (that link goes to a folder, grab the latest zip).
- Copy the zip file to your Apple TV somewhere, I used the free Cyberduck app. Open the app, choose Open Connection, choose SFTP/SSH as the connection type, use the Apple TV’s IP address as the Server, username is “root” and password is “alpine” by default. It doesn’t matter too much where you put the zip file, I went with /private/var/mobile/Updates/
- Choose System > Settings > Add-ons > Install From Zip File. Click on Home Folder (your only option) then Updates, then our file.
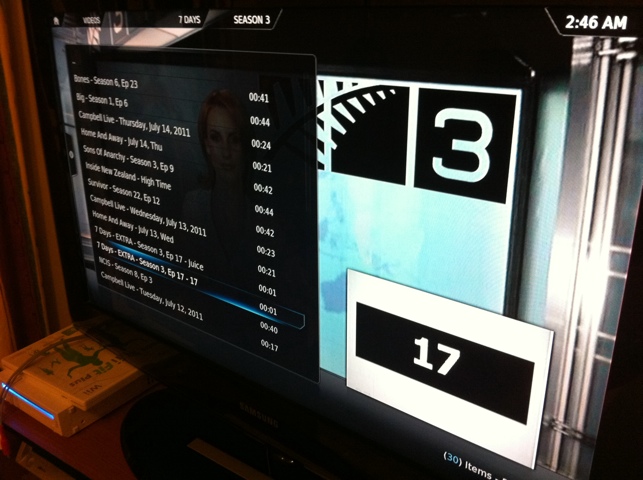
Watch NZ On Demand
Phew, so finally we can now choose NZ OnDemand from our Video > Add-ons menu. Each of the providers have slightly different menu structures for browsing videos but if you’ve got this far it won’t take you long to get the hang of it. Enjoy!

Please feel free to leave your success stories, corrections or alternate solutions in the comments below.