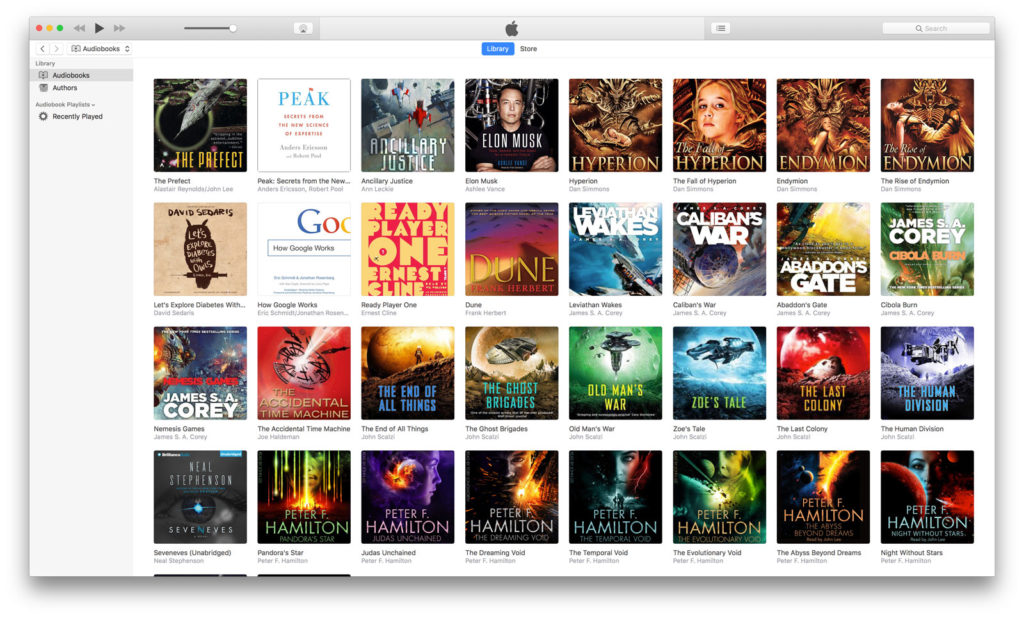
I listen to a lot of audiobooks, almost as much as I listen to podcasts and music. So inevitably I spend a lot of time looking at audiobook covers in iTunes and iBooks on my Mac and iPhone. I even create my own audiobook covers when the standard iTunes and Audible covers aren’t good enough.


Changing audiobook images in iTunes is pretty simple but only when you know how.
Change an Audiobook Cover
If you want to completely replace the existing audiobook image, or if there’s currently no cover image at all, these are the steps you need to take in iTunes:
- Click on an audiobook in iTunes. No need to select individual chapters, you want the entire book.
- Press Cmd + i to open the audiobook info window.
- Drag your new artwork over the top of the cover image at the top left.
- Click OK.


Add Multiple Audiobook Images
If you don’t want to loose the original audiobook cover, iTunes supports multiple cover images. You can add new audiobook covers and choose the primary one with the following steps:
- Click on an audiobook in iTunes.
- Press Cmd + i to open the audiobook info window.
- Click the Artwork tab.
- Drag your new image to the central area, or click Add Artwork at the bottom.
- Make sure your new image is positioned to the far-left of the image list.
- Click OK.
Managing Multiple Audiobook Covers
Note that you can select images in this window but the selected one is not the primary one which is used for your audiobook! Selecting is handy for deleting or reordering your images but the main cover image is always the first (left-most) image. I was caught out by this at the start!